mirror of
https://github.com/NohamR/knowledge-kit.git
synced 2026-05-24 20:00:37 +00:00

4.2 KiB
4.2 KiB
vue-cli作为vue的脚手架,可以帮助我们在实际开发中自动生成vue.js的模板工程。第一次使用这个工具,记录下步骤
前提:需要 vue 和 webpack
1、全局安装 vue-cli
npm install vue-cli -g
2、初始化
vue init webpack 项目名称
学过 Node 的人都知道此时会生成一个 package.json 文件,需要你输入或者选择一些工程信息。
3、进入项目文件夹
cd 项目名称
4、然后启动项目
npm run dev
关键点讲解
1、程序主要入口是 main.js
import Vue from 'vue'
import App from './App'

Vue.config.productionTip = true

/* eslint-disable no-new */
new Vue({
el:"#app",
components:{App},
template:'<App />'
})
- 可以看到注册了 App 组建(Vue 是组件化思想)
2、App.vue
<template>
    <div id="app">
        <img src="./assets/logo.png">
        <HelloWorld/>
    </div>
</template>

<script>

    import HelloWorld from './components/HelloWorld'

    export default {
        name: "App",
        components: {
            HelloWorld
        }
    }
</script>

<style>
    #app {
        font-family: 'Avenir', Helvetica, Arial, sans-serif;
        -webkit-font-smoothing: antialiased;
        -moz-osx-font-smoothing: grayscale;
        text-align: center;
        color: #2c3e50;
        margin-top: 60px;
    }
</style>
-
导入了 HelloWorld 模块,并注册为一个组件。
-
其中看到一个 name ,只有作为组件选项时起作用。允许组件模板递归地调用自身。注意,组件在全局用
Vue.component()注册时,全局 ID 自动作为组件的 name。 指定name选项的另一个好处是便于调试。有名字的组件有更友好的警告信息。另外,当在有vue-devtools,未命名组件将显示成<AnonymousComponent>,这很没有语义。通过提供name选项,可以获得更有语义信息的组件树。 -
<HelloWorld /> 这样写就是将注册好的组件使用(可以看成是搭积木)
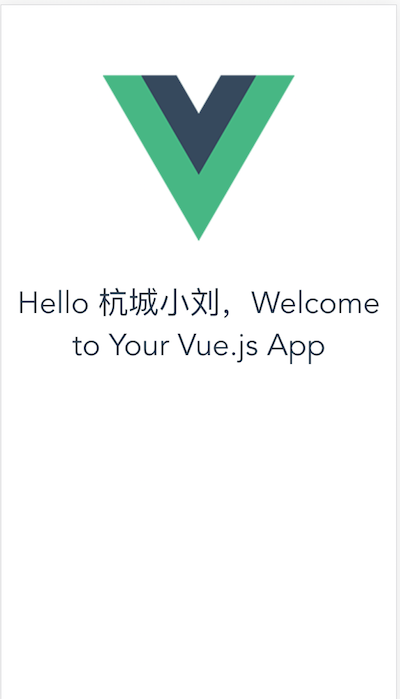
3、HelloWorld.vue
<template>
    <div class="hello">
        <h1>{{ msg }}</h1>
    </div>
</template>


<script>
    export default {
        name: 'HelloWorld',
        data() {
            return {
                msg: 'Hello 杭城小刘,Welcome to Your Vue.js App'
            }
        }
    }
</script>

<!-- Add "scoped" attribute to limit CSS to this component only -->
<style scoped>
    h1,
    h2 {
        font-weight: normal;
    }

    ul {
        list-style-type: none;
        padding: 0;
    }

    li {
        display: inline-block;
        margin: 0 10px;
    }

    a {
        color: #42b983;
    }
</style>
- 做为组件,对外暴露了 name
- {{msg}} 绑定了数据
效果图
实验
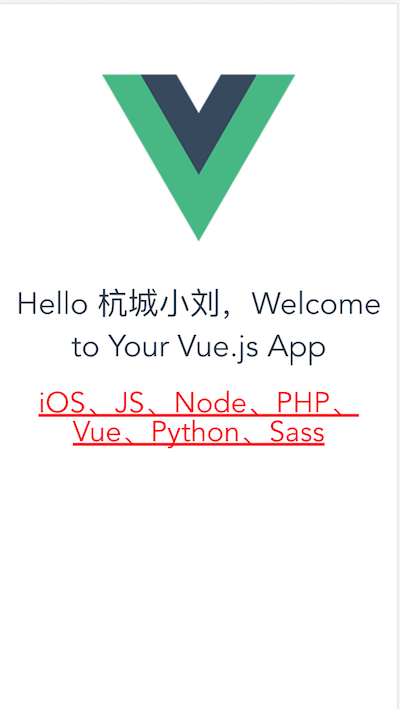
有了基本的了解,我们参考 vue 的组件化思想,动手做一个展示 编程语言兴趣的小组件。
//Hobby.vue
<template>
    <div id="hobby">
        <span>{{it}}</span>

    </div>
</template>


<script>

    export default {
        name: "Hobby",
        data() {
            return {
                it: "iOS、JS、Node、PHP、Vue、Python、Sass"
            }
        }
    }

</script>


<style scoped>
    #hobby {
        color: red;
        font-size: 30px;
        text-decoration: underline;
        line-height: 30px;
    }
</style>


//HelloWorld.vue
<template>
    <div class="hello">
        <h1>{{ msg }}</h1>
        <Hobby />
    </div>
</template>


<script>
    import Hobby from './Hobby'


    export default {
        name: 'HelloWorld',
        data() {
            return {
                msg: 'Hello 杭城小刘,Welcome to Your Vue.js App'
            }
        },
        components: {
            Hobby
        }
    }
</script>

<!-- Add "scoped" attribute to limit CSS to this component only -->
<style scoped>
    h1,
    h2 {
        font-weight: normal;
    }

    ul {
        list-style-type: none;
        padding: 0;
    }

    li {
        display: inline-block;
        margin: 0 10px;
    }

    a {
        color: #42b983;
    }
</style>
效果图